


~ LM02 ~ HAPPY EVER AFTER
REHEARSAL GALLERY
Click on any of the photographs to view larger versions.
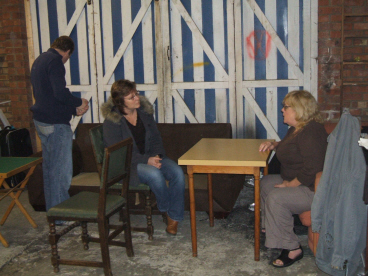
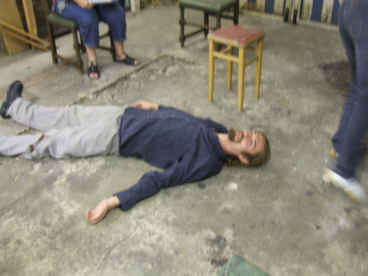
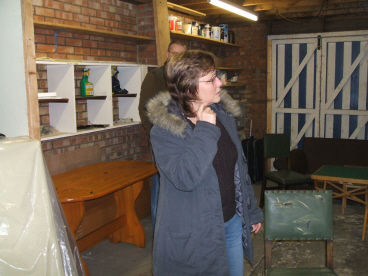
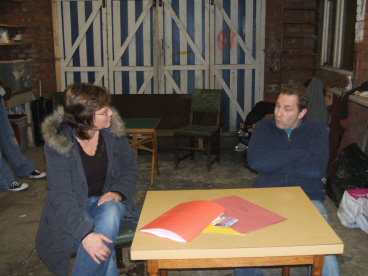
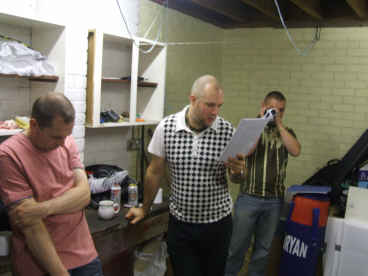
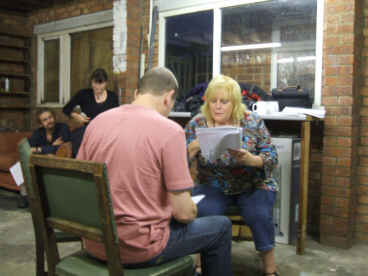
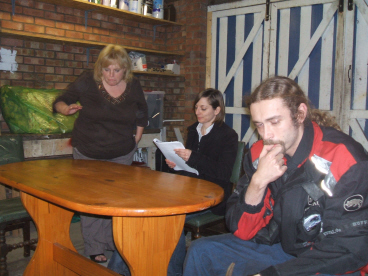
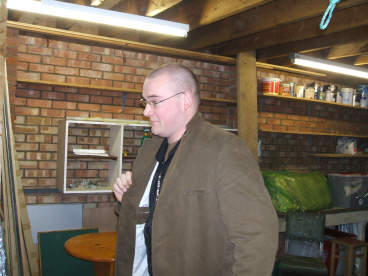

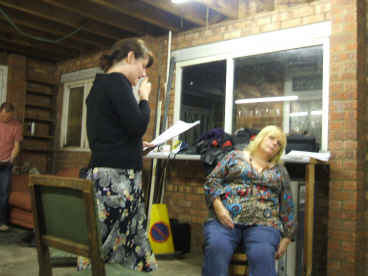
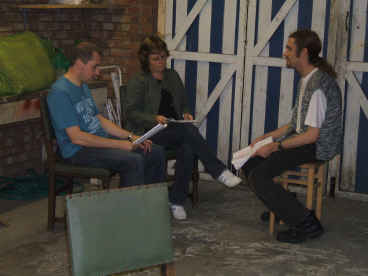
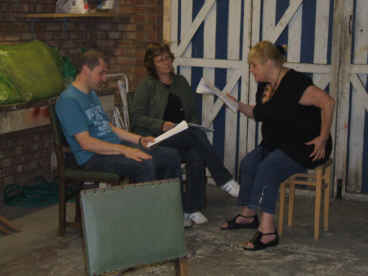
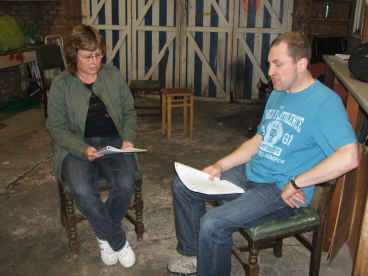
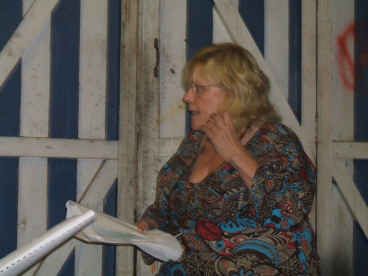
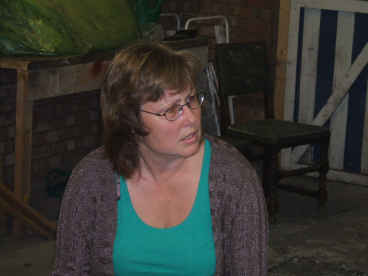
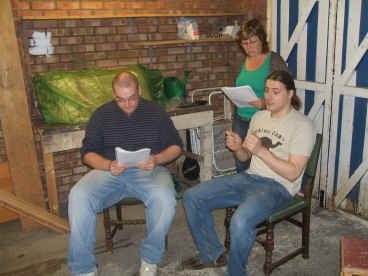
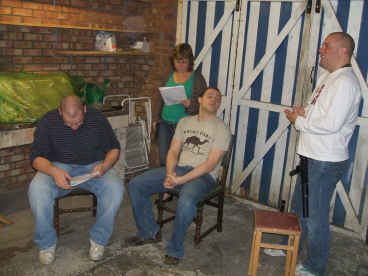
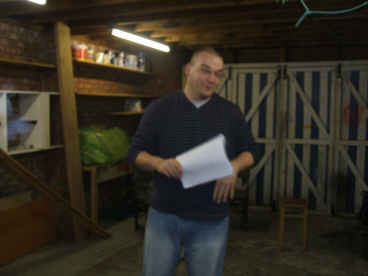
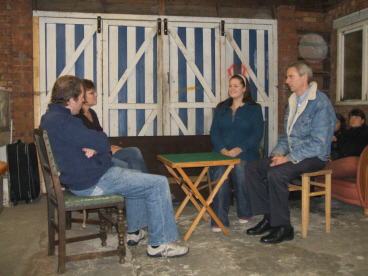
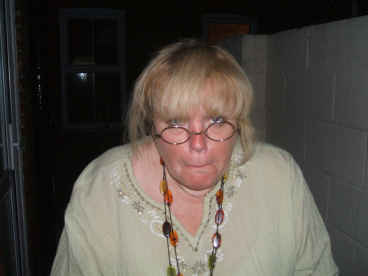
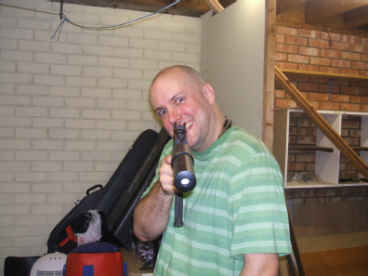
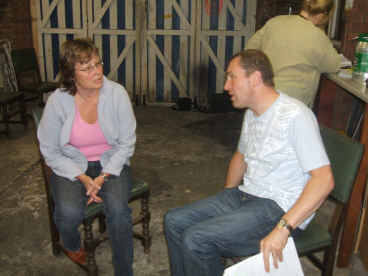
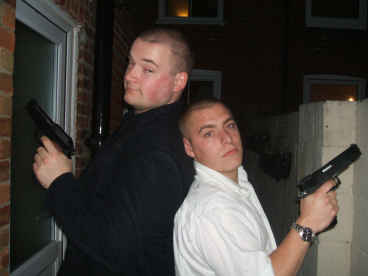
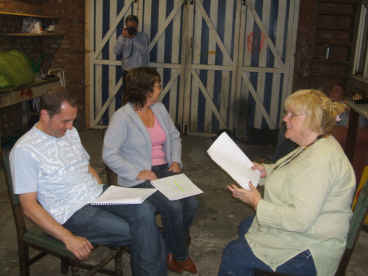
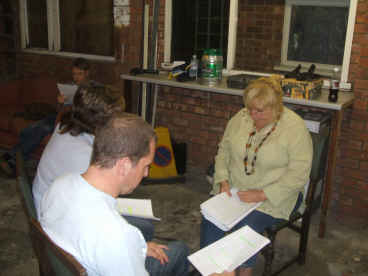
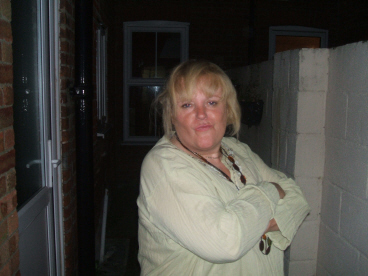

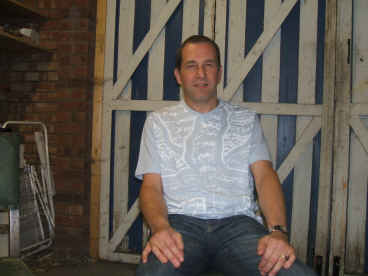
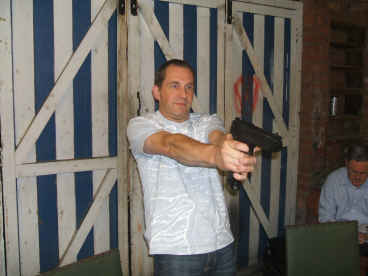
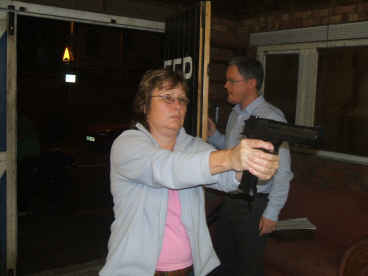
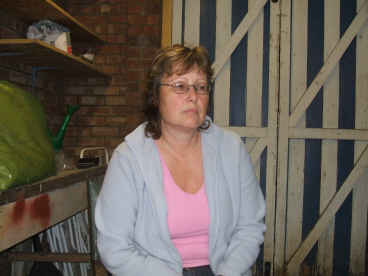
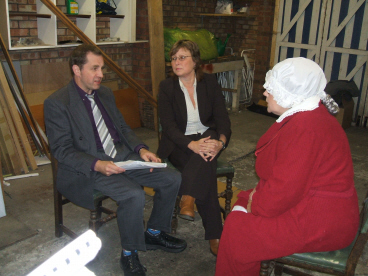
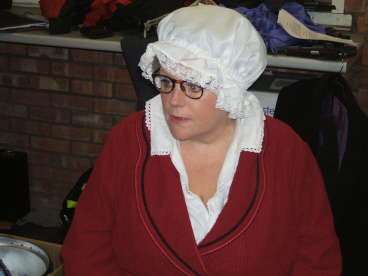
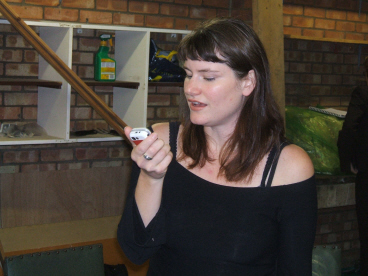

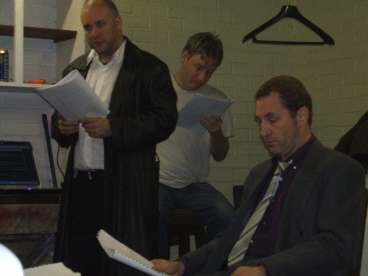
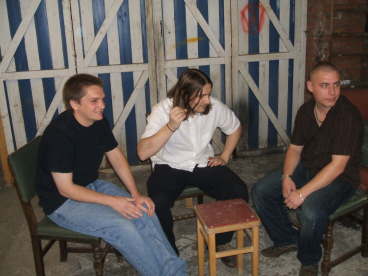
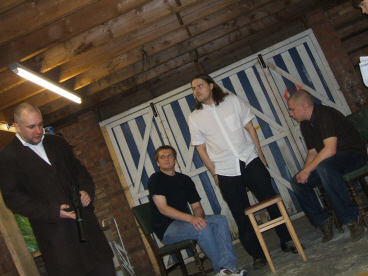
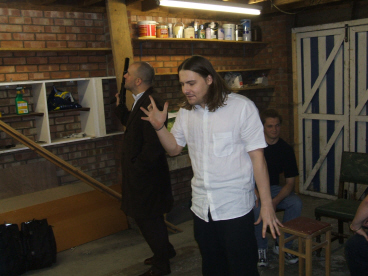
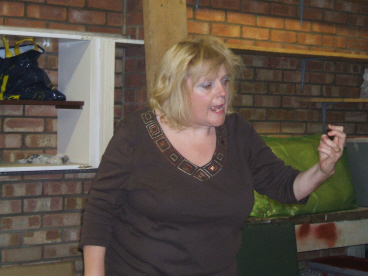
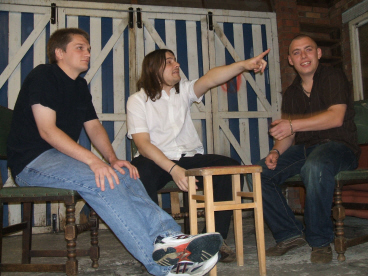
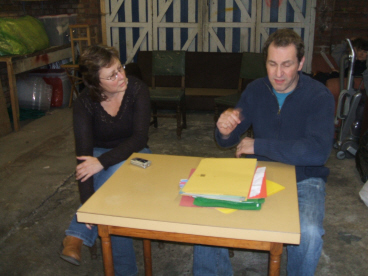
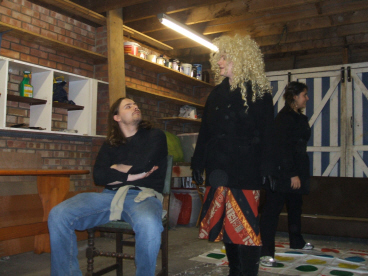
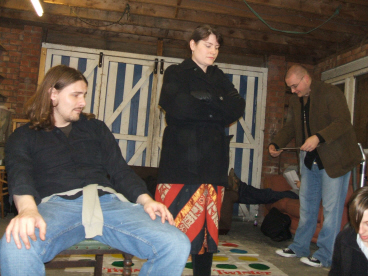
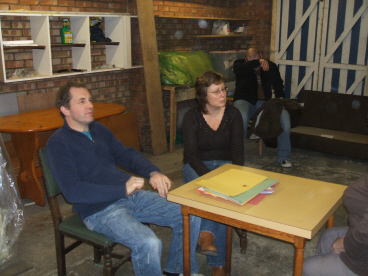
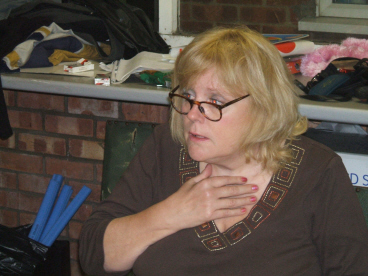
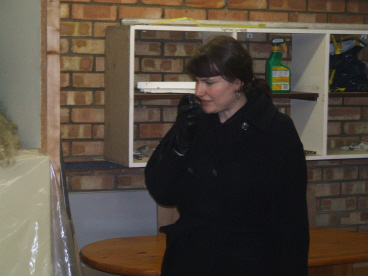
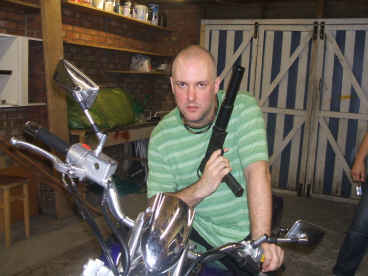
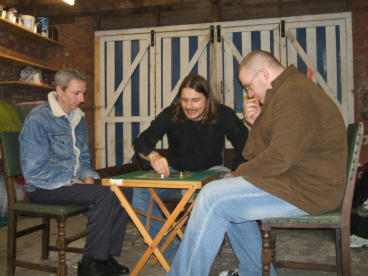
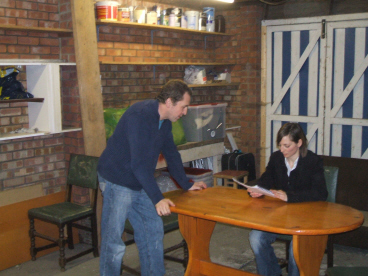
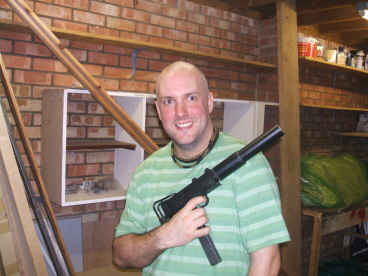
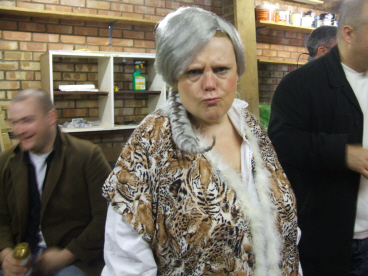
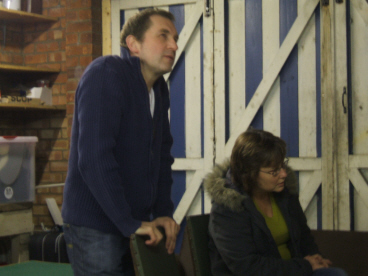
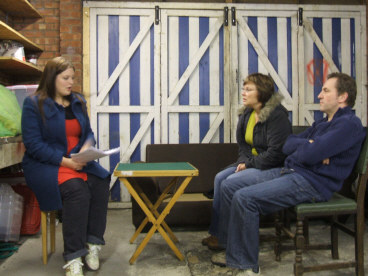
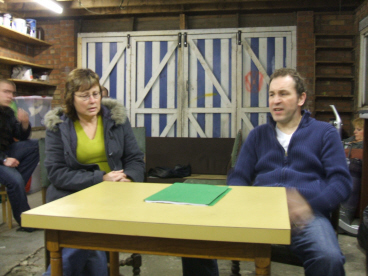
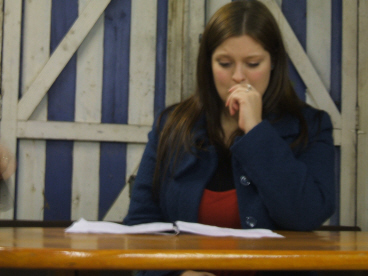

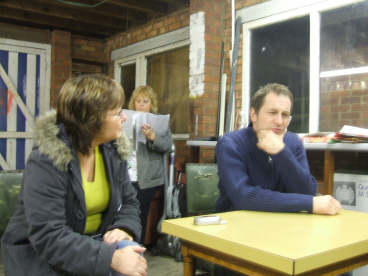

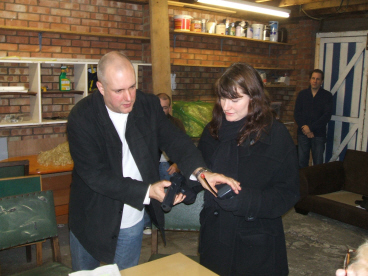
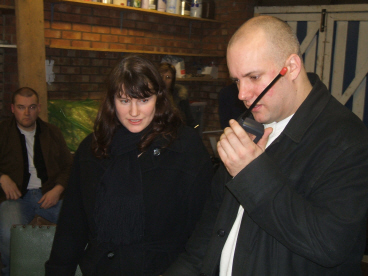
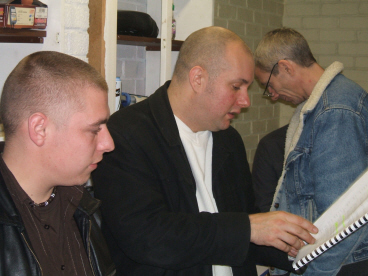
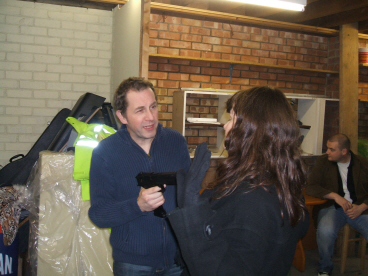

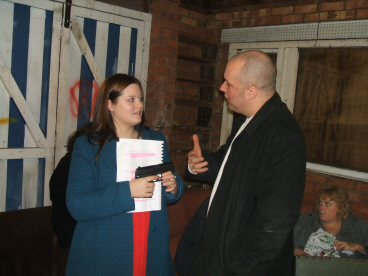
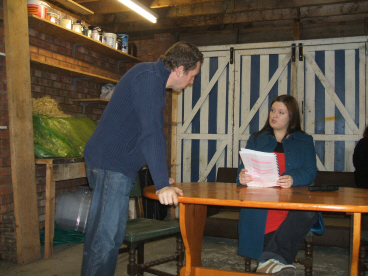
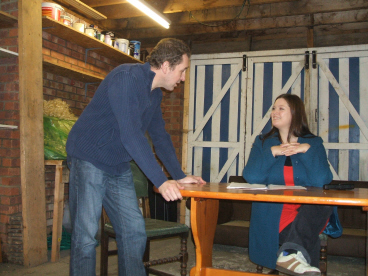
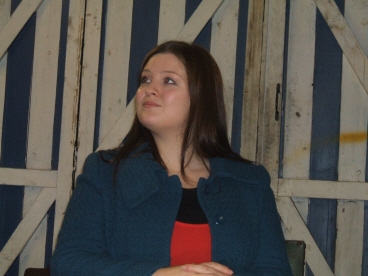

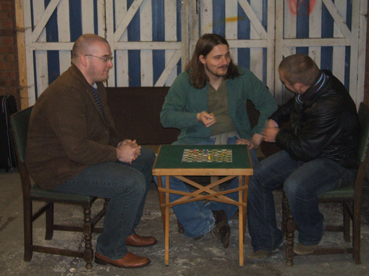
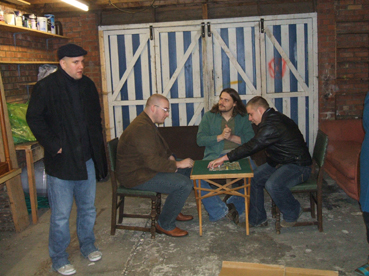
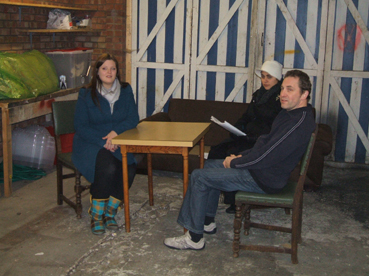

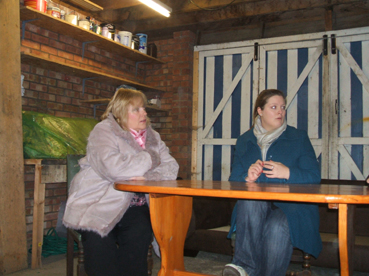
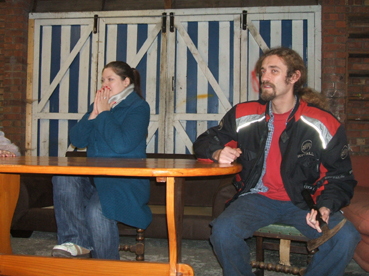
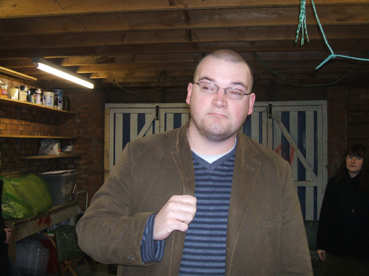
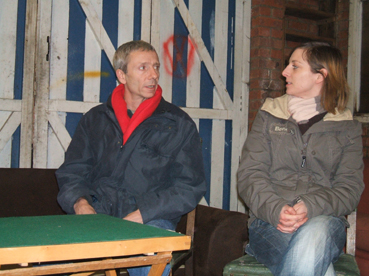
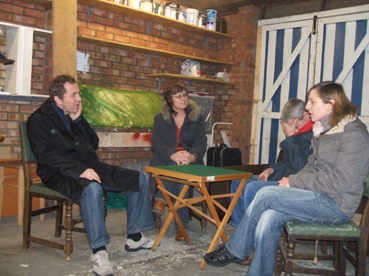
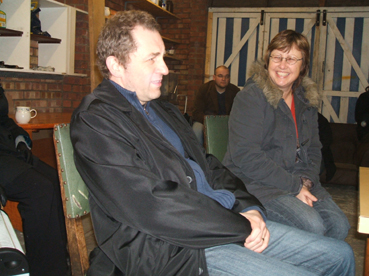
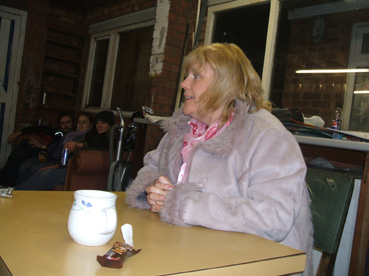
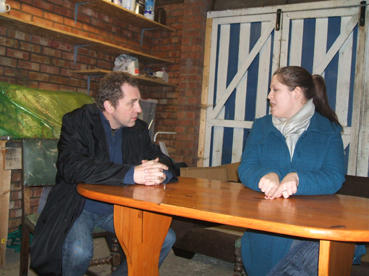
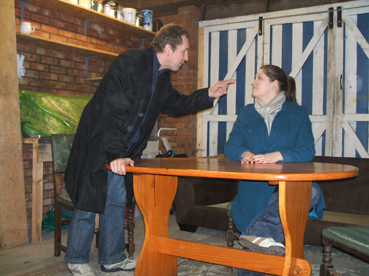
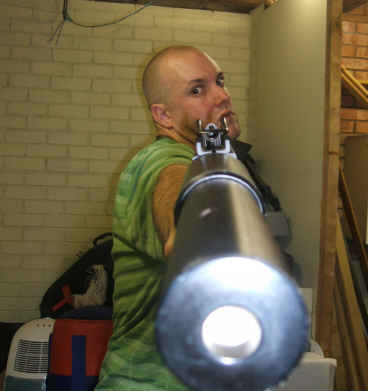
PHOTO GUIDE
1. D.I. Baker (Tony) & D.S. Lake interview Ma Hood (Di).
2. Alex (Tin)takes a fall.
3. Carol as D.S. Baker
4. Baker & Lake.
5. Jim gives notes to the cast.
6. Tony as DI Baker and Di as Ma Hood.
7. Ma Hood, stand-in Red (Mel) & Alex.
8. 'Baker' plays a policeman tailing Alex.
9. Anna as Russian assassin, Catya.
11. Baker and Lake.
12. DI Baker and DS Lake interview woodcutter, Alex Jones.
13. Baker and Lake interview Ma Hood.
14. Baker and Lake: 'what is going on in them woods?'
15. Confused Ma Hood.
16. Carol as DS Lake.
17. The Wolf in his lair.
18. Mickey has some bad news for Wolf.
19. Baker as the policeman ... 'Big Bird has left the monkey factory' ...
20. Baker & Lake interview Mary Mary (Sally) in the presence of her lawyer (Tym).
21. Mickey and his tool of the trade.
22. Baker and Lake.
23. Luke and Baker as Wolf's henchmen.
24. Frail Ma Hood.
25. Di's performance as Ma Hood cracks the rest of the cast up.
26. Baker and Lake interview Ma Hood.
27. The crook, Ma Hood.
28. Alex takes a fall ...
29. Tony as DI Baker.
30. DI Baker breaks out the firearms ...
31. ... and DS Lake is delighted!!
32. DS Lake.
33. Baker and Lake interview Ma Hood.
34. Di as Ma Hood.
35. Anna as Catya ... with a mobile phone handily doubling as a walkie-talkie!!
36. Natasa, Luke and Jim watch the rehearsal.
37. Jim directs a scene with Tony, while Winnie prompts.
38. Andy and Luke as the Henchmen in the Wolf's Lair.
39. Wolf and Mickey talk while the Henchmen watch on.
40. Jim as Mickey & Paul as Wolf.
41. Ma Hood.
42. A lighter moment between the Wolf and his Henchmen (although this would never actually happen in the play!!)
43. Lake & Baker.
44. Catya returns to the Wolf's lair after a successful mission.
45. Wolf & Catya interrogate Red ... whilst the Wolf's Henchmen get on with other things!
46. Baker & Lake interview ...
47. ... Ma Hood.
48. Catya radios in.
49/52/81. Jim as Mickey and his 'piece' ...
50. The Wolf & his henchmen.
51. Baker confronts Red (here played by Mel).
53. Di as Ma Hood.
54. Baker & Lake.
55. Baker & Lake interview Red (Sally).
56/57. Sally as Red.
58. Baker & Lake.
59. Mel reads her lines as Mary Mary.
60/61. Jim & Anna play with their walkie-talkies.
62. Baker puts a stop to Catya's schemes ...
63. Jim directs Sally.
64/65. Baker & Red.
66/67. Sally as Red.
68. Paul as the Wolf with Baker and Luke as his henchmen.
69. Mickey speaks to the Wolf.
70. Sally as Red, Tony as Baker, with Natasa standing in as Lake.
71. Ma Hood, Red and Alex.
72. Di as Ma Hood & Sally as Red.
73. Sally as Red & Tin as Alex.
74. Baker as the Policeman ... 'Oscar, Bravo, Tango, Mickey Rourke' ...
75. Mel as Mary Mary with Tym as her Lawyer.
76. Baker & Lake interview Mary Mary.
77. Baker & Lake.
78. Di as Ma Hood.
79/80. Tony as Baker & Sally as Red.
DISCLAIMER No. 2!!: As much as it pains me to do this, there's always some nance out there who'll take offence -- all the guns which appear in these images are replicas which Laughing Monkey used as props for HAPPY EVER AFTER. On the subject of guns being neither big nor clever, we totally agree -- but they're great for comedy theatre ;-).